A premium floor installed poorly will perform worse than a budget floor installed well. After supplying flooring to thousands of projects, we have compiled the ten most impactful installation tips - the difference between a floor that lasts 20 years and one that fails in 2.
1. Acclimate the flooring. SPC and laminate planks must rest in the installation room for 48 hours before fitting. Open the cartons, lay the planks flat, and let them reach the room's temperature and humidity. Skipping acclimation is the #1 cause of post-installation gaps and buckling.
2. Inspect the subfloor. The subfloor must be flat to within 3mm over 2 meters. Use a 2-meter straightedge to check. High spots grind down; low spots fill with self-leveling compound. SPC is more forgiving than laminate, but neither will hide a subfloor that resembles a roller coaster.
3. Test for moisture. Concrete subfloors must read below 2.5% moisture content (or below 75% RH per ASTM F2170) before installing floating floors. Above this, install a vapor barrier (0.2mm PE film) and choose SPC over laminate - SPC tolerates moisture where laminate will fail.
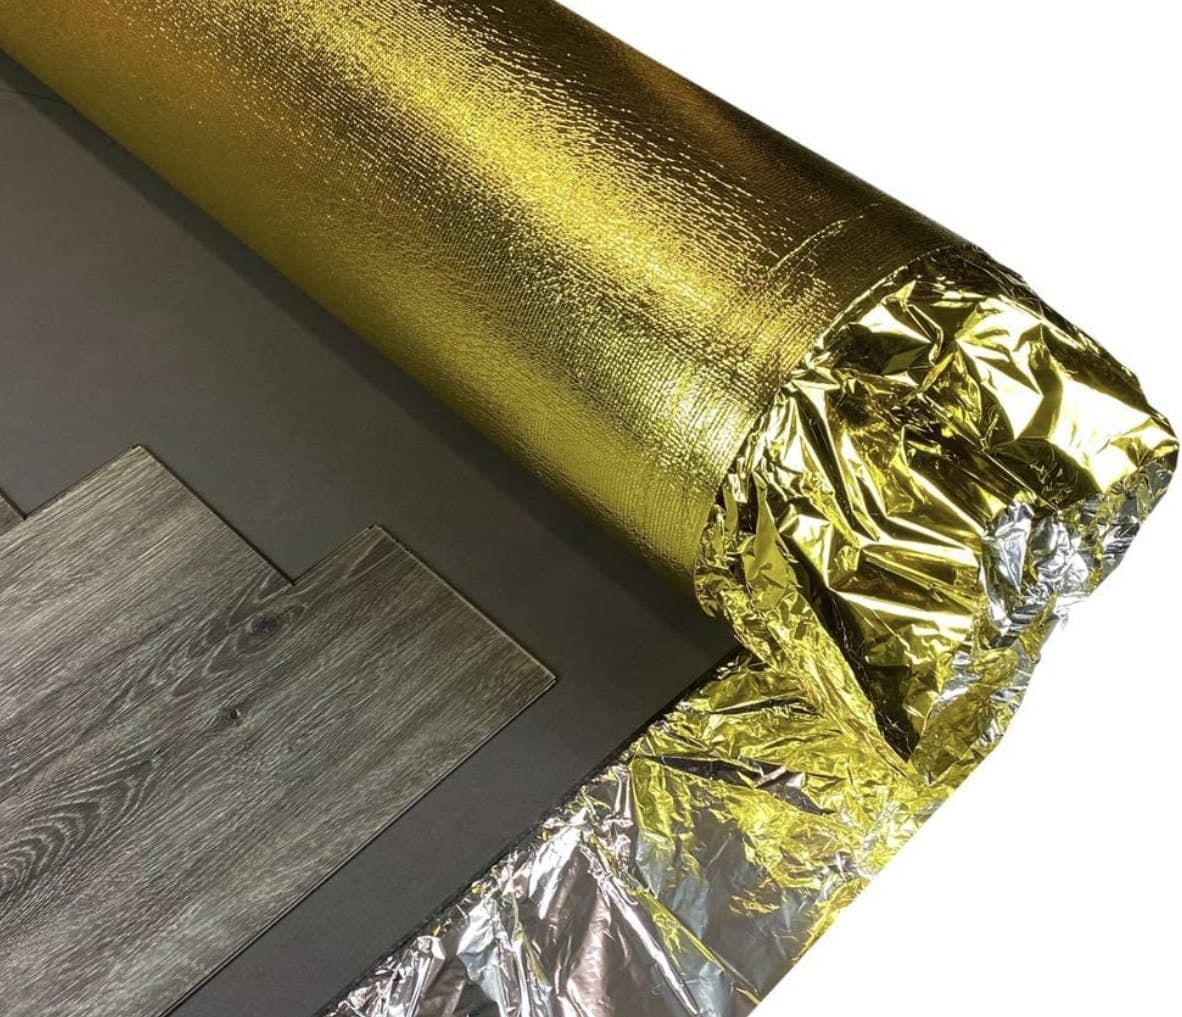
4. Use the right underlay. Match underlay to flooring: IXPE 1-2mm for SPC and LVT, EVA 2-3mm for laminate, natural cork for premium acoustic. Never stack underlays - more is not better. Two layers create soft spots that lead to joint failure.
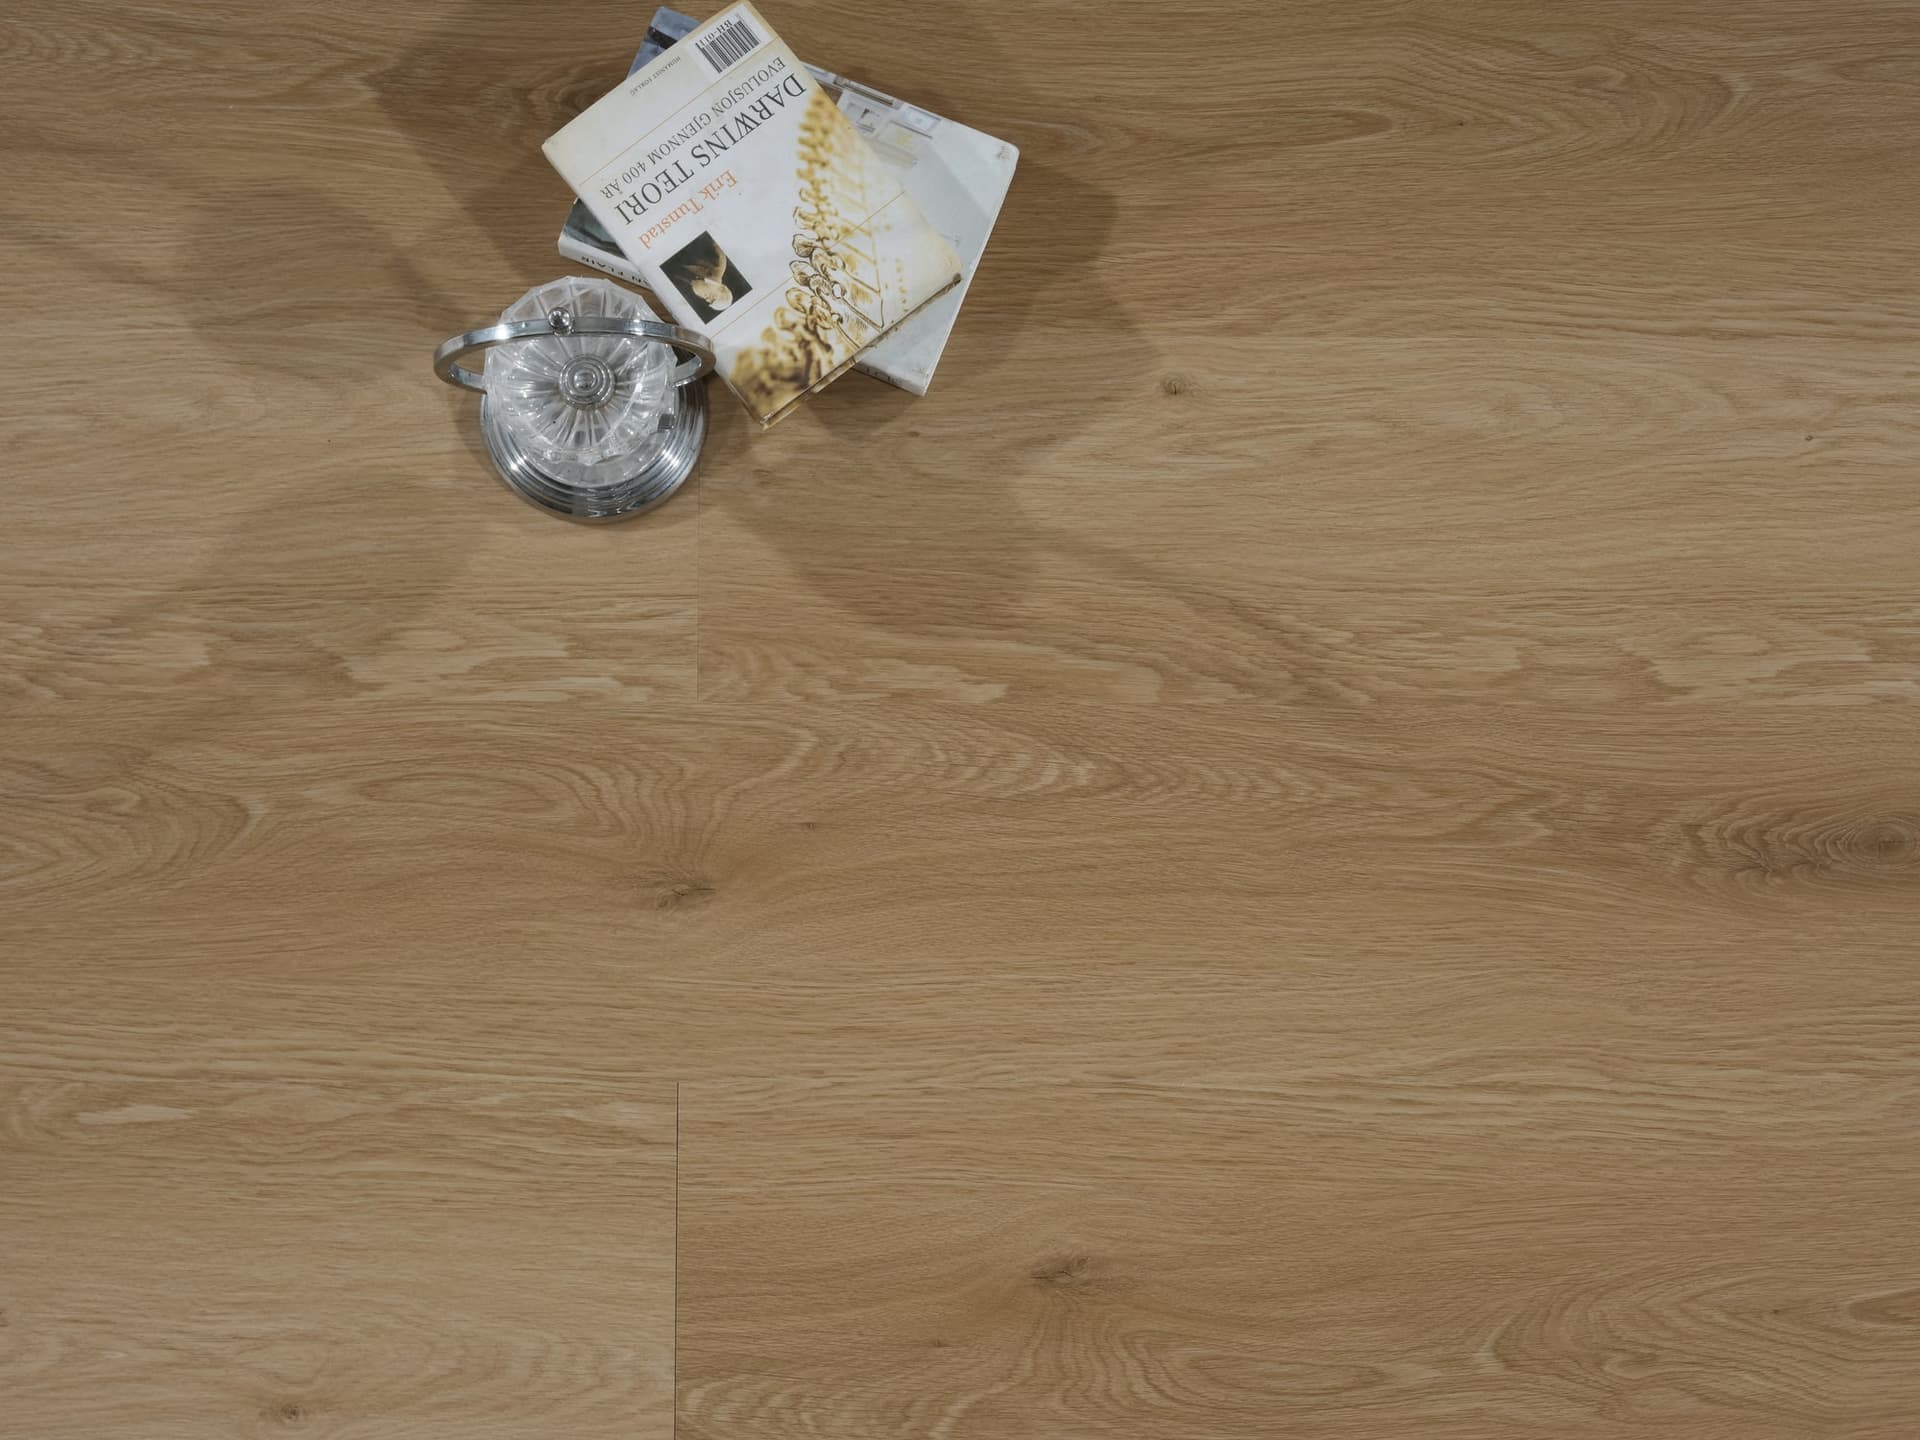
5. Plan the layout. Planks should run parallel to the longest wall and toward the main light source for the best visual effect. Plan so the last row is at least 50mm wide - if it would be narrower, cut the first row narrower to balance. Avoid H-joints by staggering end joints at least 300mm.
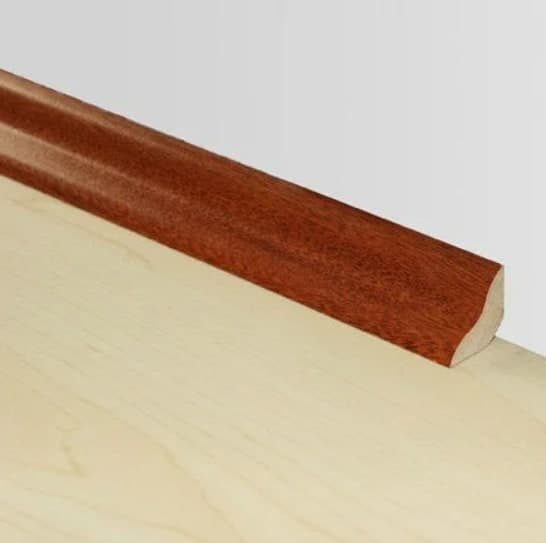
6. Leave expansion gaps. SPC and laminate expand and contract with temperature. Leave 8-10mm gap at all walls, pipes, and fixed obstacles. Use expansion spacers during installation. Cover the gap with skirting board - never seal it with silicone, which traps the floor.
7. Cut planks face-down for jigsaw, face-up for circular saw. A fine-tooth blade (60+ teeth) prevents chipping on the wear layer. For SPC, use a carbide-tipped blade. Always cut in a separate area to keep sawdust out of the click joints.
8. Click planks at the correct angle. Most click systems engage at 20-30 degrees. Lower the plank slowly while sliding it toward the previous row. Never force a plank flat with a hammer - if it does not click, the angle is wrong or debris is in the joint. A rubber mallet and tapping block can help seat stubborn joints.
9. Install transitions at doorways. T-molding covers gaps between rooms, allowing the floor to expand independently. Skip this and the floor will buckle at the doorway. End caps finish at carpet or tile, reducers transition to lower floors. Plan transition placement before starting installation.
10. Clean as you go. Sweep or vacuum the installed area daily. Sawdust and grit under planks cause clicks to fail. Wipe up spills immediately - even waterproof SPC has seams where water can penetrate if left standing. Use only manufacturers' recommended cleaners; never steam mop, never wax.
Bonus: document the installation. Take photos of the subfloor before installation, the first rows laid, and the finished floor. If a warranty claim ever arises, these photos prove the floor was installed correctly - and protect both installer and homeowner.